
About
VarchIan is a 3D third-person Sci-fi action puzzler set in a post-apocalyptic space station where players play as a janitorial robot tasked with delivering the last surviving human brain to an escape pod.
Contributions
Below is a demo reel showcasing one of the main contributions I made to the project; the player character and what was necessary to integrate the model and animations into the engine, as well as a look at the final result. Further down I explain in greater depth, about what my workflow for each aspect was.
Video showcasing a few of the steps in the process of
integration for the player character
Workflow
Rigging
The first step in the process of getting the character moving in the game was to rig and skin the model. After I have received the model from the artist I immediately start to place bones on the model at points where everything which should move other than the main body is. This way I get a general sense of everything that must be parented to the root bone of the rig in order to have it move along with the character.
The next step is to parent each bone to create a joint structure loosely similar to that of an actual skeleton with the goal being to define key areas of a body, such as the hips, head, arms, and legs. In the case of this model there are no legs so the lowest bone in the rig should represent the lower torso.
The model is also lacking arms and in it's place are a weapon and socket plug, so instead of a forearm - hand joint structure, I created a shoulder - attachment structure.
After the skeleton structure is completed it is time to skin the model using weight painting. Skinning the model involves dictating which bone should be responsible for moving a part on the model. The amount of influence a bone has dictates the amount of deformation it can have on that part of the model. In the case of this model it is a hard surface and shouldn't deform so I skin each bone to have full influence on it's part of the body.

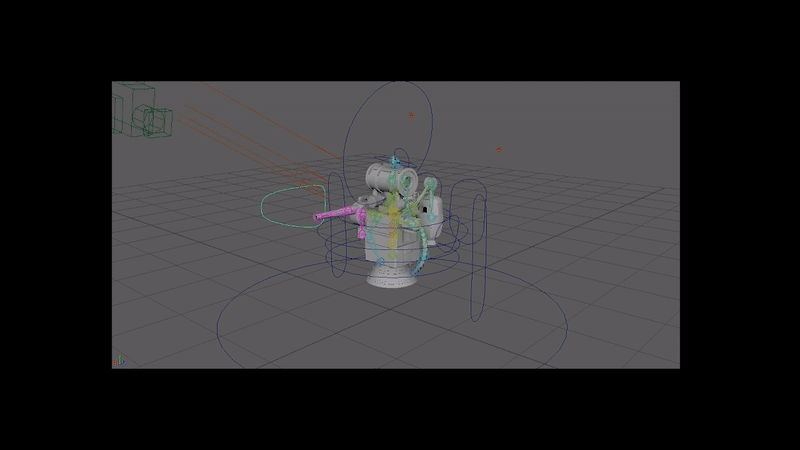
The final step in preparing the model for animation is to create a control rig to help drive the joint structures. The rig I created allows control of key parts of the model such as the torso, head, jets, and weapon.
The picture below shows the completed rig with controllers ready to be animated.

Animating
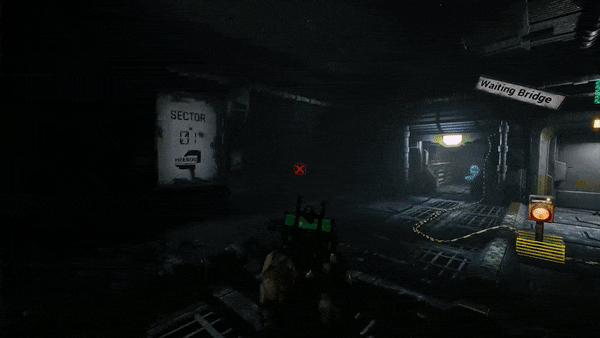
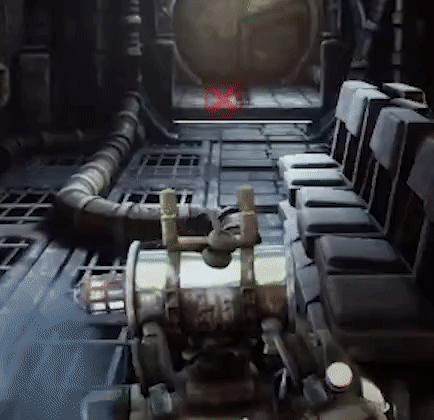
The first step in animating a model for me is to gather multiple sources of reference. This way I can dissect the key movements needed to recreate the motion and decide upon the style/feeling of animation best suited for the model. Regarding this model particularity, the main source of inspiration for it's movement comes from Grand Theft Auto San Andreas, specifically from the jet pack in the game. Below is an animated gif showcasing the character's locomotion in-game.
When it comes to time to start key framing I like to start with 3 major parts of an animation, Start - Middle - End. I key the model when an animation starts, how it is when it is half-way complete, and how the model is when the animation ends. This way I can get a general block out of how an animation will look and then go in and add adjustment key frames where needed.
Below is an example of the workflow following the player's shooting animation
Frame 0 & 30

Start and End frames in a neutral stance
Frame 15

Mid frame after the weapon is fired, and
the character starts to recover from the knock back of the weapon
Frame 10

Correction frame after the weapon is fired,
but before the character can recover from the knock back of the weapon
to add exaggeration to the animation
result
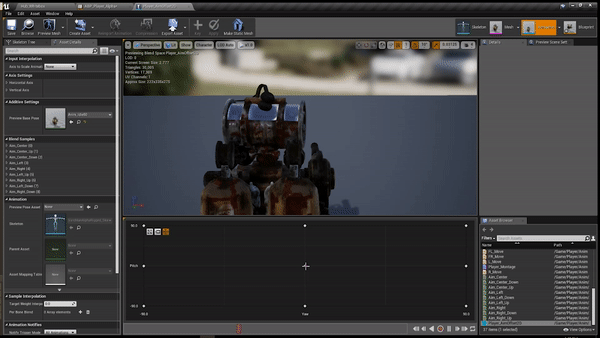
Animation Logic
After the rigged model asset and animation files have been imported into the engine, it's time to set up the logic which will drive the player pawn and the correct model behaviors associated with it. Below is an overview of the player animation blueprint asset used during the project which blends the state machines and blendspaces of the animations together to result in a final pose.
Overview

This blueprint blends the locomotion state machine with
the other dynamic elements of the character
Such as...
the head phones
Leaning into turns
Aim poses

Locomotion State machine

Inside of the locomotion logic is a state machine
which determines the State to enter based on arguments
Below is an example of one of the
Transition Arguments

This transition requires the player to be:
-already moving
-Moving positive along the forward axis (forwards)
-Moving negative along the Horizontal Axis (Left)
This results in blending into a Diagonal-left moving animation, from another moving animation
Idle state

Movement state

Within the states are animations/blendspaces, which play when the state is entered
Locomotion Cache

the locomotion logic itself is cached off
in order for reuse later on in the animation blueprint
Final pose
